| Ayutthaya | |
|---|---|
| |
Type |
Capture the Flag |
Location |
|
Terrain |
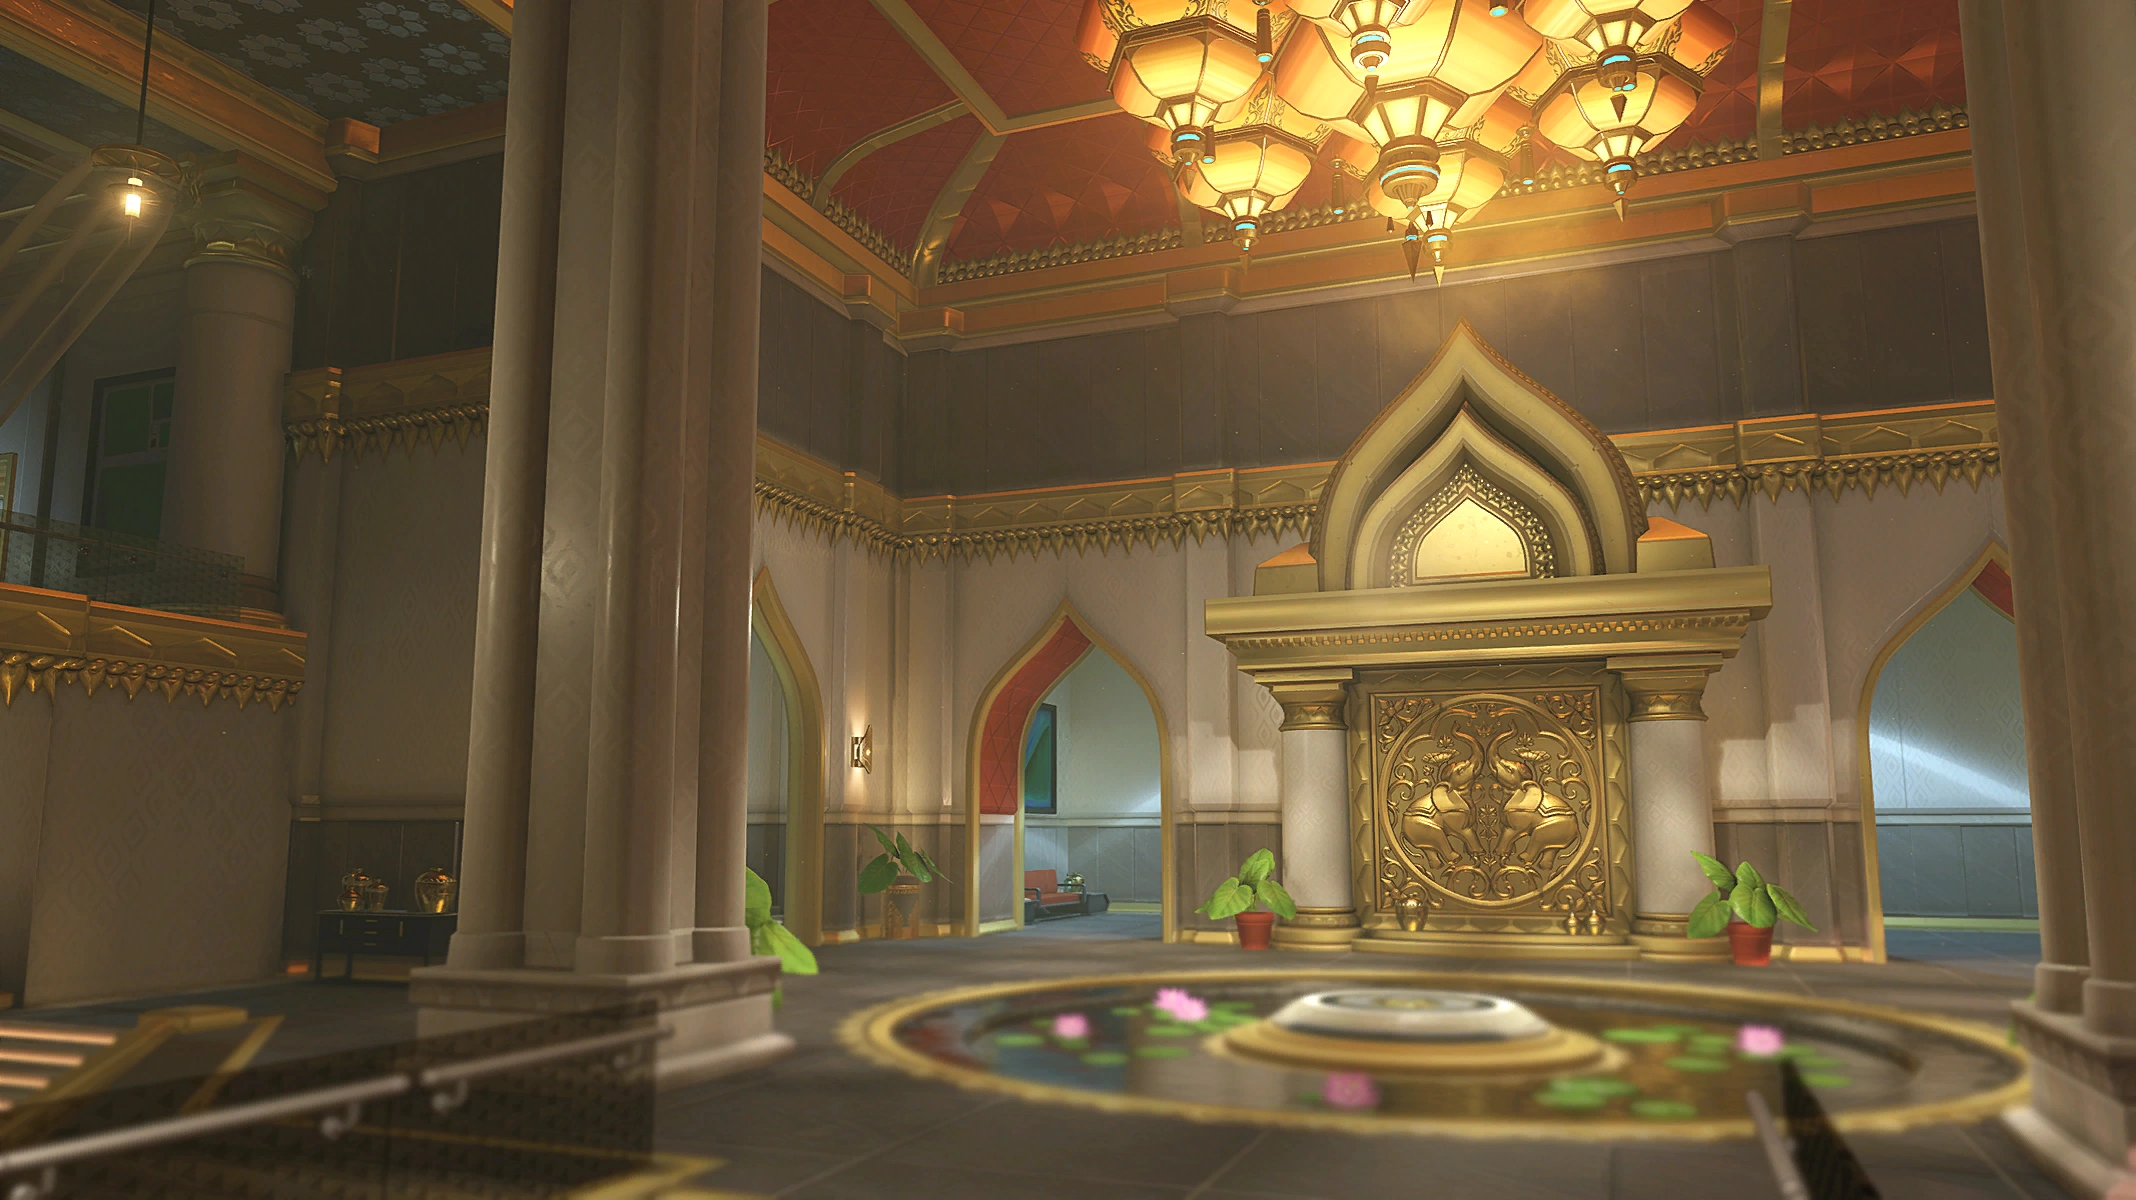
Temple grounds |
Ayutthaya is a Capture the Flag map in Overwatch. Released on 8 February 2018, making it the 25th map added to the game.
It was released as part of the Year of the Dog event.[1]
Gameplay
The map is divided into two halves. On one side is an ancient temple, on the other is a more modern environment similar to a hotel lobby. Both identical halves cross in a central courtyard marked by an elephant statue.[1]
Unlike previous Capture the Flag maps, the game will not end in a draw if no clear winner is declared when the match time expires. Instead, the game will enter Sudden Death mode, and both teams' flags will be shifted closer to the courtyard. The team to capture the enemy flag first wins.
As an update to this mode, many characters will drop the flag if a movement-boosting ability is used while they hold the flag, or become unable to grab the flag while said ability is active. This includes:
- Doomfist: Any ability besides Hand Cannon
- D.Va: Boosters
- Genji: Swift Strike
- Lúcio: Wall Ride, Amp it Up during speed boost
- Pharah: Jump Jet (but not Hover Jets)
- Brigitte: Rally and Shield Bash
- Reinhardt: Charge
- Winston: Primal Rage
- Junkrat: Concussion Mine
- Soldier: 76: Sprint
- Tracer: Blink
- Widowmaker: Grappling Hook
- Sombra: Stealth and Translocator
- Cassidy: Combat Roll
Strategy
General
- The smaller size of this map compared to other Capture the Flag maps before it facilitates aggressive pushes - it's much easier for teams to charge into the frontlines and make repeated attempts for the enemy flag.
- On the other hand, it also means that defensive strategies can be just as effective as there's less ground to cover.
- While it's not necessary to play too defensively, coordinated pushes are recommended - the flagbearer will often require teammates to cover their escape, even if the enemy flag isn't protected by a turret. It's easy for either team to double back and intercept an enemy flagbearer.
- Any form of self-initiated ability that gives you a boost in movement will cause you to drop the flag, and many characters with such abilities have poor defenses. It might be a good idea to let a Tank-class hero grab the flag instead while the other players cover their escape.
- All routes to the flag will take players through the open courtyard in the middle of the map. Its small size makes it perfect for characters with knockback such as Pharah and Lúcio to send players flying off for environmental kills.
- Besides the central bridge, alternative routes to the flag comprise of thin passages, making it easier for flankers and area denial specialists to score kills, such as McCree, Hanzo and Junkrat.
Heroes
- Lúcio
- Prior to the latest update Lúcio could use Wall Riding to singlehandedly capture the enemy flag, but even without that capability he can still sneak behind enemy lines by Wall Riding the towers closest to the courtyard.
- While his frailty makes it hard for him to capture the flag, Sound Barrier can allow him to weather turrets protecting the flag for short periods of time, or better yet, provide an opening for a tankier ally to capture the flag instead.
- Lúcio's songs provide a much needed boost to allies nearby no matter the situation. The smaller map size makes it easier to heal or accelerate his team, either when attacking the enemy or escorting the flagbearer.
- Note that using Amp It Up while boosting speed will not cause your ally to drop the flag, so use it after your ally has captured the flag to get them back to base as fast as possible.
- Use Soundwave not only for environmental deaths, but also to prevent enemies from chasing after their flag, or getting away with yours.
- Moira
- The large number of chokepoints makes it easy for Moira to heal her team or weaken the enemy with her Biotic Orb.
- Save your Coalescence for major pushes towards the enemy flag through the central corridor. The linear route facilitates covering your allies with the health restoration, while damaging enemies trying to defend the flag.
- Torbjörn
- A Level 2 sentry placed near the flag can provide significant protection while your team pushes ahead. However, it's far from a complete solution - a coordinated team can still weather the damage dealt by your sentry, especially when backed by several shields.
- While Torbjörn can be expected on most teams, including him in your roster isn't absolutely necessary. It may be far easier to go for an offensive push instead - should you feel the need, you can switch to him and defend your flag if you feel that you're comfortably ahead.
- Even without your sentry it may be a good idea to stay closer to the frontlines so you can drop armor packs for your team. If they're planning a push, consider rebuilding your sentry closer to enemy lines to pick off defenders hampering your team. Save your Molten Core and rebuild your sentry for a devastating surprise.
- Symmetra
- Symmetra fulfills similar roles to Torbjörn by providing cover fire on your flag.
- In exchange, Symmetra's turrets are significantly more fragile and are much easier to destroy from a distance. Consider deploying turrets closer to the enemy base where they're least expected, such as the central courtyard.
- The damage output from Symmetra's Photon Projector means you can play an active role in aiding pushes for the enemy flag. Stay close to a tank and tear into bunches of enemies.
- While you could have both Torbjörn and Symmetra on the same team, your team loses considerable ability to push for the enemy flag. It's much more advisable not to stack builders even if you're already ahead, as both builders lack advantageous abilities to pursue flagbearers.
- Zarya
- If timed well, Zarya's shields can provide invaluable support to allies weathering enemy fire or capturing the flag, making targeted allies temporarily immune and buying them time. Alternatively she can do the same for herself as a flagbearer, then return huge amounts of firepower after inevitably drawing the enemy team's ammunition.
- Graviton Surge can be used to great effect given the map's small size. Use it to stop groups of enemies from getting away with the flag, or to prevent them from going after your flagbearer.
- Hanzo
- Ayutthaya's smaller size and map design allows many of Hanzo's area denial abilities to shine. Sonic Arrow will reveal most of the enemy's movements, while Scatter Arrow can punish most heroes trying to approach or guard the flag via the narrow passageways.
- Dragonstrike can be launched through the middle of the map, ideally when your team is making a push, preventing the enemy from getting close to their flag to protect it.
- Mei
- Mei's poor mobility makes it harder for her to get to the frontlines or pursue enemies, and her primary weapon on its own is much less likely to discourage groups making a push.
- Her main use on this mode is to break up enemy groups or corner flagbearers with her Ice Wall, as well as cover allies from enemy fire as they make it back to base. The bridge is a great place to drop a barrier, forcing enemies to use alternate, less efficient routes.
- Blizzard can serve the same function, letting Mei stop a whole group and possibly trapping them in a chokepoint.
- However, the lengthy cooldown of these abilities make it harder to justify Mei's usage in a team, unless exceptional Ice Wall placement when under fire is used.
Development
The map was specifically designed for the Capture the Flag mode.[1]
References
- ↑ 1.0 1.1 1.2 2018-02-06, Developer Update Happy Year of the Dog! YouTube. Accessed on 2018-02-06.
| ||||||||||||||||||||||||||||||||||||||||||||||||